Dark under-eye circles are a common beauty concern that can make you look tired, stressed, or older than you are.
While various factors such as genetics, lack of sleep, and lifestyle choices contribute to their appearance, finding an effective way to conceal them can be a game-changer for your overall look.
With the right techniques and products, you can brighten your under-eye area and achieve a refreshed, youthful appearance.
Effectively Conceal Dark Under-Eye Circles
To effectively conceal dark under-eye circles, it’s essential to understand the right approach and use the appropriate products.
By following these three steps, you can achieve a flawless, natural-looking finish that enhances your eyes and boosts your confidence.
Let’s delve into the steps that can help you effectively conceal dark under-eye circles and transform your makeup routine.
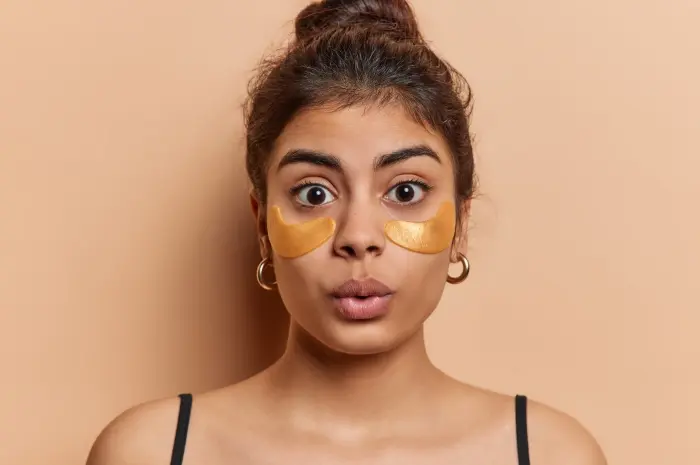
Step 1: Prep and Hydrate
The first step to effectively conceal dark under-eye circles is to prepare and hydrate the skin.
The delicate skin around the eyes can be prone to dryness and fine lines, which can make concealer look cakey or settle into creases.
Start by cleansing your face and applying a hydrating eye cream to plump and smooth the skin.
Look for an eye cream that contains ingredients like hyaluronic acid, peptides, or caffeine, which help to hydrate, reduce puffiness, and improve the appearance of dark circles.
Allow the eye cream to fully absorb before applying any makeup. This creates a smooth, hydrated base that helps concealer glide on easily and stay in place.
If you have extra time, you can also use a cooling eye mask or gel pads to further reduce puffiness and refresh the under-eye area.
Step 2: Correct with Color
Color correcting is a crucial step in concealing dark under-eye circles. Depending on your skin tone, dark circles can appear blue, purple, or brown.
Using a color corrector neutralizes these undertones and helps your concealer look more effective.
For blue or purple under-eye circles, use a peach or orange color corrector. Lighter skin tones can opt for peach, while deeper skin tones can use orange.
For brown or reddish circles, a yellow or bisque corrector works well.
Apply a small amount of the color corrector to the darkest areas of your under-eye circles, typically the inner corners and along the lower lash line.
Use a brush or your fingertip to blend the corrector gently, ensuring it seamlessly melds into your skin.
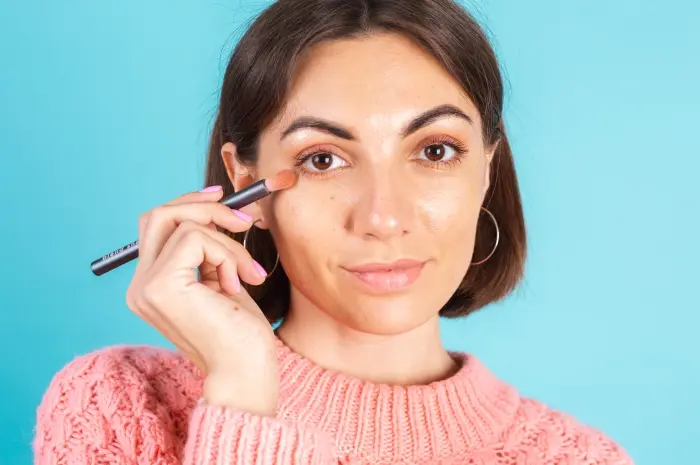
Step 3: Conceal and Set
The final step to effectively conceal dark under-eye circles is to apply concealer and set it in place.
Choose a concealer that matches your skin tone or is one shade lighter, with a creamy, hydrating formula.
Avoid concealers that are too thick or dry, as they can make the under-eye area look cakey.
Using a small brush or your fingertip, apply the concealer in an inverted triangle shape under each eye.
This shape brightens the under-eye area and blends seamlessly with the rest of your face.
Gently blend the concealer by tapping it with your finger or a damp makeup sponge, ensuring an even and natural finish.
To set the concealer and prevent it from creasing, use a translucent setting powder.
Lightly dust the powder over the concealer with a fluffy brush or a damp sponge.
This step helps lock the concealer in place, reduces shine, and ensures long-lasting coverage.
Conclusion
Effectively concealing dark under-eye circles can enhance your overall look and boost your confidence.
By following these three steps – prepping and hydrating the skin, correcting with color, and concealing and setting – you can achieve a flawless and refreshed appearance.
Remember, the key to success is using the right products and techniques that work for your unique skin tone and type.
With a little practice, you’ll master the art of concealing dark under-eye circles and enjoy a brighter, more youthful look.